
Creating a Twitter bot with Node.js and Twitter API

Before we start, make sure you are set up with all API keys and tokens from the Twitter Developer Platform. If you are not, I have a tutorial on how to generate your keys and tokens for the Twitter API.
Table of contents
- Step 1: Install Node
- Step 2: Create a new node app and install dependencies
- Step 3: Create an .env file and load in your API keys
- Step 4: Create a Twitter client
- Step 5: Create an index.js file and call the Twitter API
- Step 6: Create a cron job
- Step 7: Add express (optional)
Step 1: Install Node
I am assuming that if you are at the level of making Twitter Bots, you have Node installed. If not, you will need to install it.
If you are not sure if you have Node installed, simply run
node -v
It should say something like
v16.14.2
Step 2: Create a new node app and install dependencies
Let's go ahead a create a new Node.js app with
npm init -y
This will create our package.json file for us. We will now add all the packages we will need for our bot.
npm install twitter-api-v2
npm install dotenv
npm install cron
npm install express
Step 3: Create an .env file and load in your API keys
Create a file called .env. This is where the API keys and tokens we generate will go.
Here is an example of a .env file. Replace the values with your values you created on the Twitter developer platform.
NODE_ENV="development"
API_KEY="<your-API-key>"
API_SECRET="<your-API-secret>"
ACCESS_TOKEN="<your-access-token>"
ACCESS_SECRET="<your-access-secret>"
BEARER_TOKEN="<your-bearer-token>"

APP_ID="<your-app-id>"
Your APP_ID is just the first section of the ACCESS_TOKEN.
E.g. If your ACCESS_TOKEN is
1587638141888131111-ZbcwdlkfDZjfsdfasdfdff32HJBSdjd
then your APP_ID is the section before the dash
1587638141888131111
Step 4: Create a Twitter client
Using the twitter-api-v2 package we installed in step 2, we will create a client. Create a new file called twitterClient.js and enter the following code.
const { TwitterApi } = require("twitter-api-v2");

const client = new TwitterApi({
  appKey: process.env.API_KEY,
  appSecret: process.env.API_SECRET,
  accessToken: process.env.ACCESS_TOKEN,
  accessSecret: process.env.ACCESS_SECRET,
});

const bearer = new TwitterApi(process.env.BEARER_TOKEN);

const twitterClient = client.readWrite;
const twitterBearer = bearer.readOnly;

module.exports = { twitterClient, twitterBearer };
We will use the twitterBearer to read tweets, and the twitterClient to write to the platform e.g. likes, posts etc.
Step 5: Create an index.js file and call the Twitter API
Let's go ahead and create an index.js file. This is where we will run our app from. Add the following code
require("dotenv").config({ path: __dirname + "/.env" });
const { twitterClient } = require("./twitterClient.js")

const tweet = async () => {
  try {
    await twitterClient.v2.tweet("Hello world!");
  } catch (e) {
    console.log(e)
  }
}

tweet();
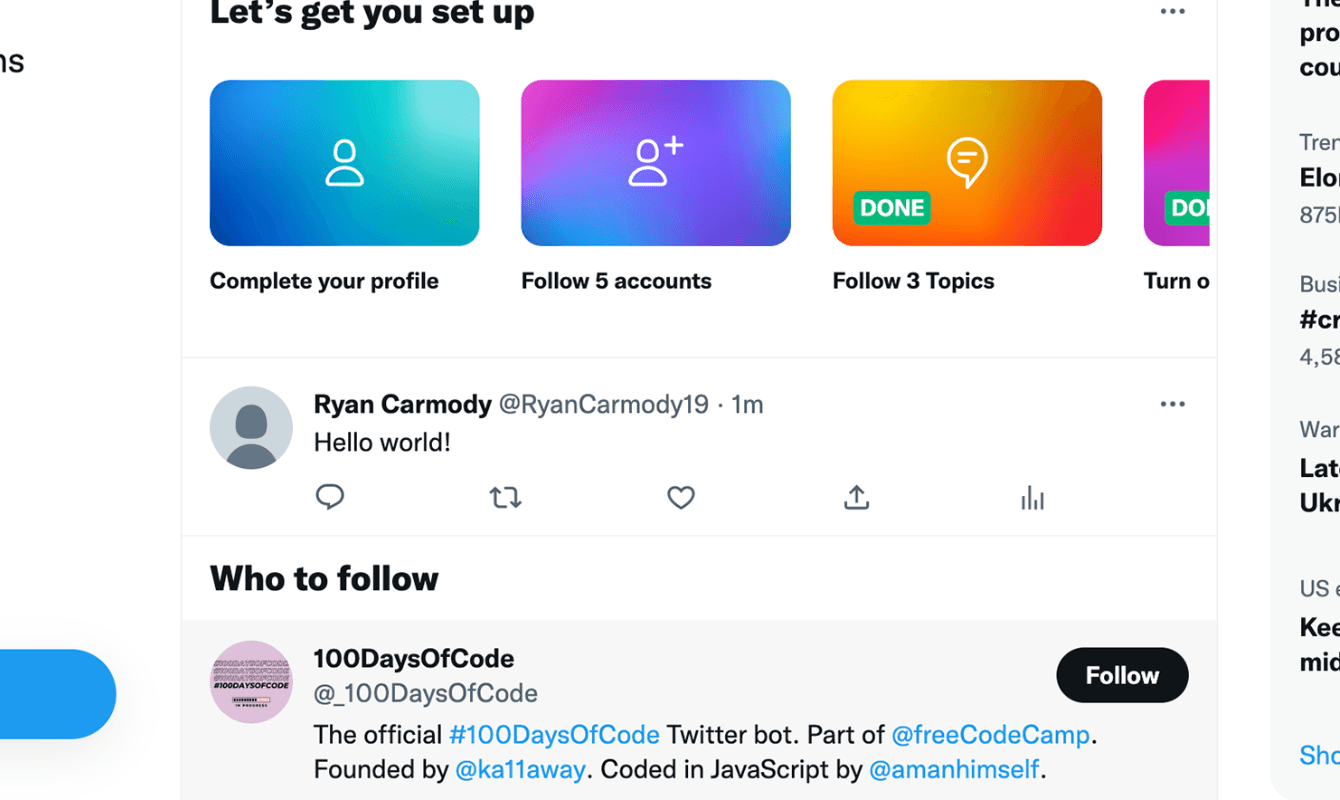
The above code will import the twitterClient and tweet out "Hello world!". You can now go to Twitter and check whether the tweet was actually sent.
Here is my twitter just after I ran the above code.
Step 6: Create a cron job
Generally, a Twitter bot will tweet out certain information on a regular schedule, for example, every week. We can build on what we already have and add a cron job to our application. To do this, add the following line of code to the top of the index.js file.
const CronJob = require("cron").CronJob;
To create a cron job, we add the following
const cronTweet = new CronJob("30 * * * * *", async () => {
  tweet();
});

cronTweet.start();
What does this code do? It creates a cron job that will run when seconds are at 30, not every 30 seconds. I won't go into detail about what the 30 and stars mean, but have a look at this page which goes through what that syntax does. Similarly, there is this very handy online tool where you can build and edit cron syntax and it will tell you exactly when it will run.
Your final code for this section should look like
require("dotenv").config({ path: __dirname + "/.env" });
const { twitterClient } = require("./twitterClient.js")
const CronJob = require("cron").CronJob;

const tweet = async () => {
  try {
    await twitterClient.v2.tweet("Hello world!");
  } catch (e) {
    console.log(e)
  }
}

const cronTweet = new CronJob("30 * * * * *", async () => {
  tweet();
});

cronTweet.start();
Step 7: Add express (optional)
If you want to host this Twitter bot on a hosting platform like heroku, you will need to add express to your node.js app. This is because when hosting node.js applications, they need a port to attach to.
To do that, simply add the following to your index.js file.
const express = require('express')
const app = express()
const port = process.env.PORT || 4000;

app.listen(port, () => {
  console.log(`Listening on port ${port}`)
})
Your final `index.js file should look like this
require("dotenv").config({ path: __dirname + "/.env" });
const express = require('express')
const app = express()
const port = process.env.PORT || 4000;
const { twitterClient } = require("./twitterClient.js")
const CronJob = require("cron").CronJob;

app.listen(port, () => {
  console.log(`Listening on port ${port}`)
})

const tweet = async () => {
  try {
    await twitterClient.v2.tweet("Hello world!");
  } catch (e) {
    console.log(e)
  }
}

const cronTweet = new CronJob("30 * * * * *", async () => {
  tweet();
});

cronTweet.start();
And that is it, your Twitter bot has been created. All that is left to do now is host your application on your favourite hosting platform.


About the Author
Open for work
Hi, I'm Ryan from Adelaide, South Australia.
I'm a web developer and computer science tutor. I also rock climb, play wheelchair basketball and brew beer.
Check out some of the games I made


Smug Chicken
The daily AI art word game.

Searchle
How does google autocomplete this search?

WhereTaken
Guess the country from a photo.

Retro Snake
Eat the food but don't hit the walls or your own body!